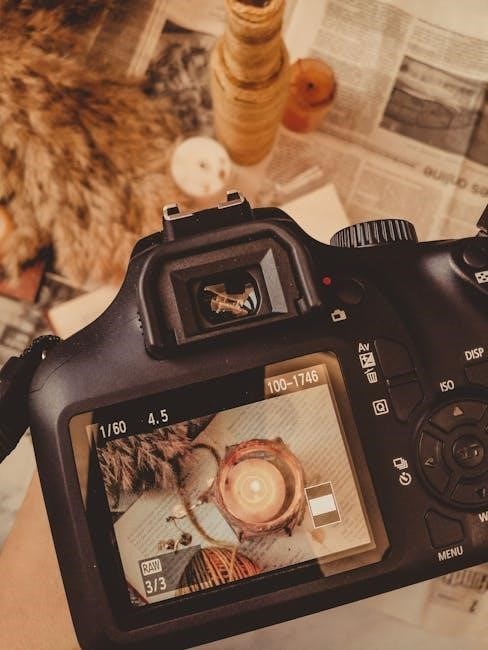
Manual camera settings offer full control over exposure, enabling photographers to manipulate ISO, aperture, and shutter speed for precise results․ This creative freedom enhances image quality and personal expression․
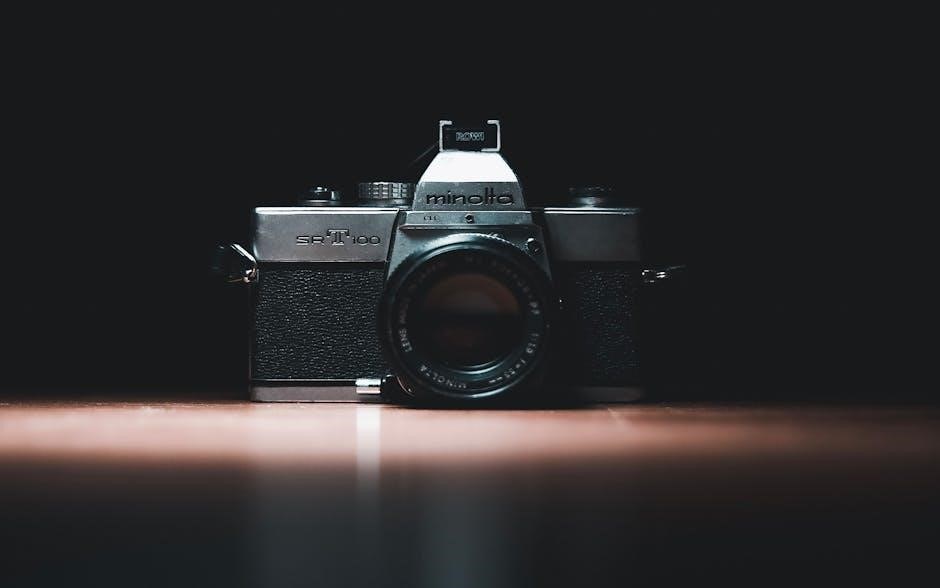
1․1 Importance of Manual Mode in Photography
Manual mode is essential for photographers seeking creative control and precision․ It allows adjustments to aperture, shutter speed, and ISO independently, ensuring images match the photographer’s vision․ Unlike automatic modes, manual settings enable full artistic expression, making it ideal for capturing unique lighting, motion, and depth․ Mastering manual mode enhances image quality, reduces reliance on camera algorithms, and unlocks advanced techniques for portraits, landscapes, and low-light photography․ It empowers photographers to experiment and innovate, transforming ordinary shots into extraordinary ones․ Learning manual mode is a foundational skill that elevates photography from a hobby to a professional art form, offering limitless possibilities for creative expression and technical mastery․
1․2 Understanding the Exposure Triangle
The Exposure Triangle is the foundation of photography, comprising aperture, shutter speed, and ISO․ These three elements work together to control the amount of light captured by the camera’s sensor; Aperture regulates the lens opening, affecting depth of field and light entry․ Shutter speed determines the duration the camera’s shutter remains open, influencing motion and light exposure․ ISO adjusts the sensor’s sensitivity to light, impacting brightness and noise levels․ Balancing these components is crucial for achieving proper exposure, with each adjustment influencing the others․ Understanding their interplay allows photographers to creatively control lighting, motion, and image clarity, making it essential for mastering manual camera settings and producing high-quality images tailored to specific artistic visions․
Key Components of Manual Camera Settings
Manual camera settings empower photographers to control aperture, shutter speed, and ISO independently․ These primary elements, along with white balance and metering modes, refine image quality and style․
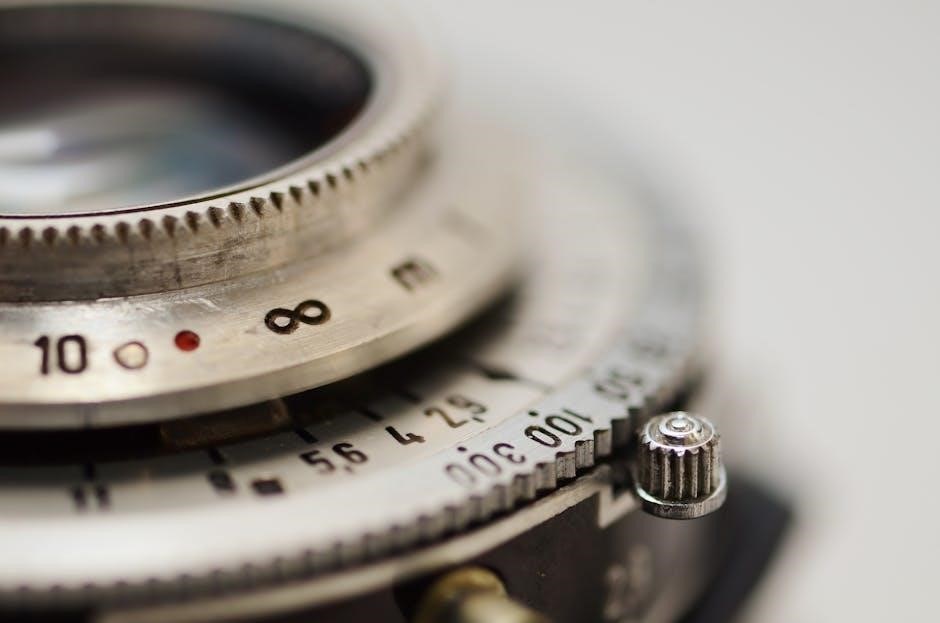
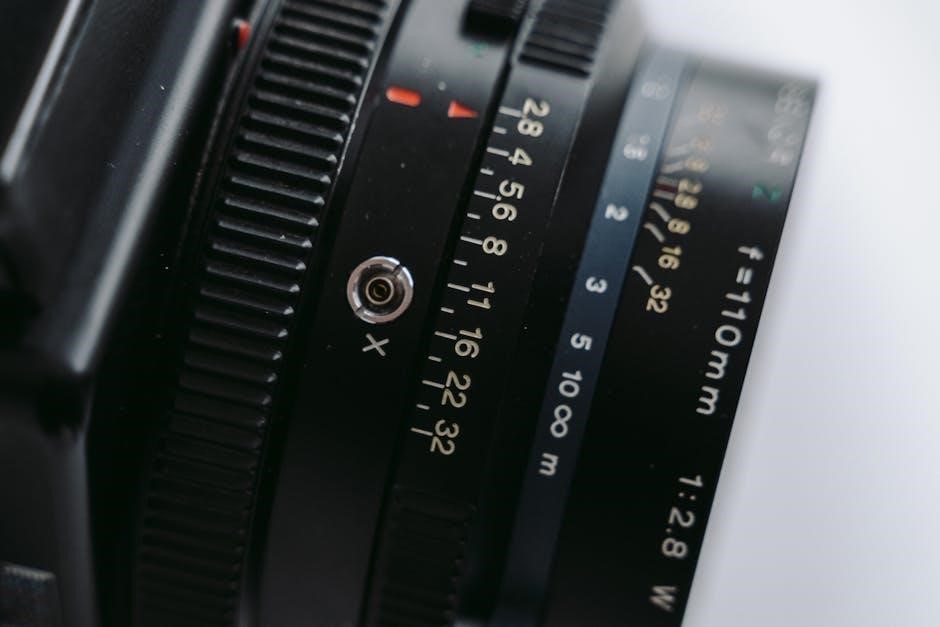
2․1 Aperture: What It Is and How It Works
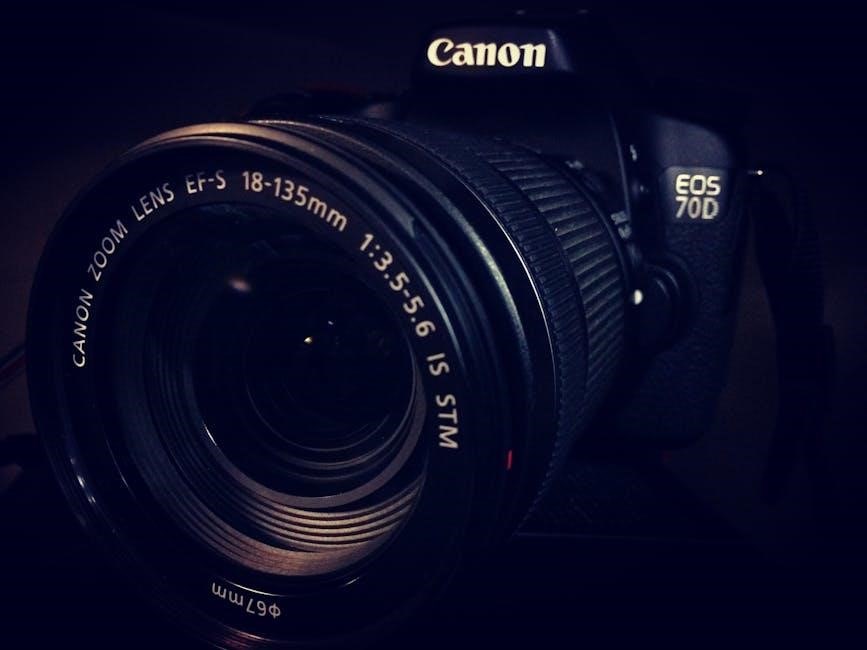
Aperture refers to the size of the camera’s aperture, which controls the amount of light entering the lens․ It is measured in f-stops (e․g․, f/2․8 or f/16), with smaller f-numbers indicating a larger aperture opening․ A larger aperture allows more light into the camera, creating a shallower depth of field, while a smaller aperture lets in less light and provides a deeper focus․ This setting is crucial for achieving the desired blur or sharpness in the background and foreground of an image․ Understanding aperture enables photographers to control light intake and creative effects, making it a fundamental component of manual camera settings․

2․2 Shutter Speed: Controlling Motion and Light
Shutter speed determines how long the camera’s shutter remains open, influencing both light exposure and motion capture․ Faster shutter speeds (e․g․, 1/1000th of a second) freeze action, reducing blur, while slower speeds (e․g․, 1 second) create motion blur, artistic effects, or light trails․ It also impacts the overall brightness of an image, with shorter durations letting in less light and longer ones more․ Balancing shutter speed is crucial for achieving sharpness or intentional blur, depending on the scene․ This setting allows photographers to creatively control time and light, making it a vital element in manual photography for capturing dynamic or static moments effectively․
2․3 ISO: Sensitivity and Noise Management
ISO determines the camera sensor’s sensitivity to light, with lower values (e․g․, ISO 100) suitable for bright conditions to prevent overexposure, and higher values (e․g․, ISO 6400) used in low-light situations to enhance sensitivity․ However, increasing ISO introduces digital noise, degrading image quality․ Managing ISO involves balancing brightness and noise, starting with the lowest necessary setting to maintain clarity․ Photographers should experiment to find optimal ISO levels for their cameras, as noise performance varies by model․ This careful adjustment ensures vibrant, clear images in diverse lighting environments while preserving quality․
Mastering the Exposure Triangle
Mastering the exposure triangle—aperture, shutter speed, and ISO—allows photographers to balance light and creativity seamlessly, enhancing image quality and artistic expression through precise control of each element․
3․1 Balancing Aperture, Shutter Speed, and ISO
Balancing aperture, shutter speed, and ISO is crucial for achieving optimal exposure․ Aperture controls depth of field, shutter speed manages motion, and ISO adjusts light sensitivity․ Each setting impacts the others, requiring careful adjustment to avoid overexposure or underexposure․ Start by setting ISO based on lighting conditions, then adjust aperture for desired depth of field, and finally set shutter speed to freeze or blur motion․ Experimentation is key to mastering this balance, as no two scenes are identical․ Understanding their interdependence helps photographers create images that align with their creative vision, ensuring proper exposure while maintaining artistic intent․ Practice and patience are essential for refining this skill․
3․2 Practical Examples of Exposure Triangle Usage
Practical examples of the exposure triangle in action include capturing portraits with a wide aperture (e․g․, f/2․8) for a shallow depth of field, paired with a fast shutter speed (1/250s) to freeze motion and a low ISO (100-400) for sharpness․ For landscapes, a narrow aperture (f/11) ensures depth, a slower shutter speed (1/30s) adds motion blur to water or clouds, and a low ISO (100) preserves detail․ In low-light scenarios, a higher ISO (6400) compensates for darkness, a wide aperture (f/2) lets in more light, and a slower shutter speed (1/60s) creates ambiance․ These examples demonstrate how the exposure triangle can be tailored to achieve specific artistic effects, helping photographers develop a systematic approach to their craft․
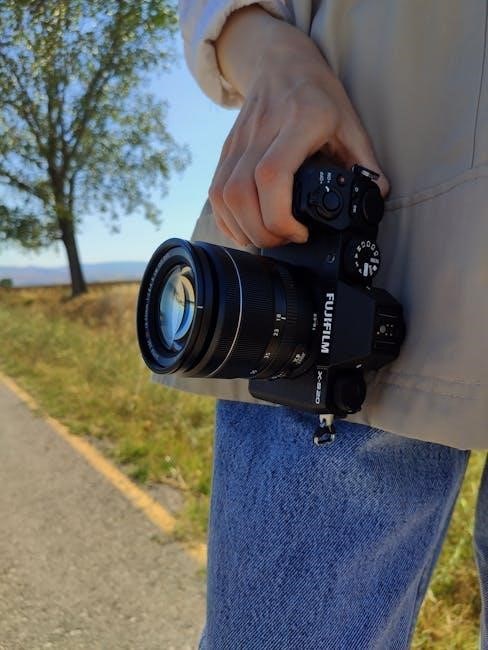
Manual Camera Shooting Process
Mastering manual shooting involves setting ISO based on light, adjusting aperture for depth, and selecting shutter speed for sharpness, ensuring each element aligns with creative goals․
4․1 Setting ISO Based on Lighting Conditions
Setting ISO is the first step in manual shooting, as it directly impacts image brightness and noise․ In bright lighting, use lower ISOs (100-400) to minimize noise․ In low-light conditions, higher ISOs (1600-6400) are necessary but may introduce grain․ Always balance ISO with aperture and shutter speed for optimal results․ Adjusting ISO according to the scene ensures proper exposure while maintaining image quality․
4․2 Adjusting Aperture for Depth of Field
Aperture is a critical setting for controlling depth of field, which determines how much of the image is in focus․ A wide aperture (low f-stop, e․g․, f/2․8) creates a shallow depth of field, blurring the background and isolating subjects, ideal for portraits․ A narrow aperture (high f-stop, e․g․, f/11) keeps more of the image sharp, suitable for landscapes or group photos․ Adjusting aperture based on the scene and desired effect allows photographers to guide viewer attention and enhance composition․ Proper aperture selection balances artistic intent with technical requirements, ensuring the subject stands out or blends harmoniously with the environment․ This control is a cornerstone of creative photography in manual mode․
4․3 Selecting Shutter Speed for Image Sharpness
Shutter speed is a key factor in achieving sharp images, as it determines how motion is captured․ Faster shutter speeds (e․g․, 1/500th of a second) freeze action, ideal for sports or wildlife photography, while slower speeds (e․g․, 1/30th of a second) create motion blur, adding artistic effects․ A general rule of thumb is to keep the shutter speed at least 1/60th of a second to avoid hand shake blur․ In low-light conditions, slower speeds may be necessary, but pairing them with a tripod or image stabilization helps maintain sharpness․ Balancing shutter speed with aperture and ISO ensures well-exposed, crisp images, allowing photographers to capture their vision effectively in various lighting scenarios․
Additional Manual Camera Settings
Beyond the exposure triangle, photographers can refine images using white balance for accurate colors and metering modes to measure light effectively, enhancing overall image quality and control․
5․1 Understanding White Balance
White balance adjusts the color temperature of an image to ensure accurate hues under various lighting conditions․ It compensates for light sources like daylight, fluorescent, or incandescent bulbs, preventing unwanted color casts․ Presets like “Auto,” “Daylight,” and “Tungsten” simplify adjustments, but manual tweaking offers precision․ Incorrect white balance can lead to unnatural skin tones or overly warm or cool images․ While it’s subjective, proper white balance enhances realism and professionalism in photography․ Mastering this setting allows photographers to capture scenes as they appear to the human eye, ensuring vibrant and true-to-life colors in every shot․
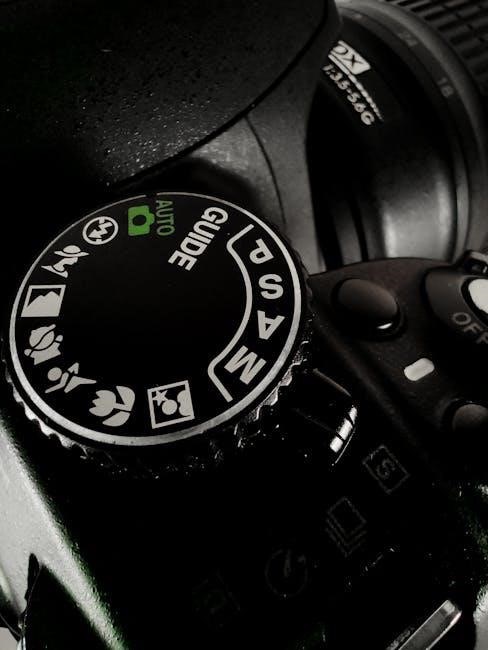
5;2 Metering Modes and Their Impact
Metering modes determine how a camera measures light to set exposure․ Common modes include multi-zone, center-weighted, and spot metering․ Multi-zone evaluates the entire scene for balanced exposure, while center-weighted prioritizes the central area․ Spot metering focuses on a specific point, useful for high-contrast situations․ Each mode impacts how the camera calculates aperture, shutter speed, and ISO․ Incorrect metering can lead to overexposed highlights or underexposed shadows․ Understanding metering modes is crucial for achieving accurate exposures, especially in manual mode․ They allow photographers to control how light is interpreted, ensuring the desired aesthetic in their images․ Mastering metering modes enhances creative control and consistency in photography․ Proper use can elevate image quality and professionalism․ Metering modes are essential tools for precise exposure management․
Tips and Tricks for Manual Mode
Manual mode mastery involves practice and experimentation․ Start with a balanced exposure, adjust settings per lighting, and explore creative techniques to refine your photography style․
6․1 Best Practices for Portraits
For capturing stunning portraits in manual mode, prioritize a wide aperture (f/2․8 or lower) to create a shallow depth of field, blurring backgrounds and emphasizing your subject․ Use a faster shutter speed (1/250s or higher) to freeze motion and ensure sharpness, especially for moving subjects․ Set ISO to the lowest possible value (100-400) to minimize noise while maintaining proper exposure․ Focus on your subject’s eyes using continuous AF for precise sharpness․ Experiment with natural light or external flashes for flattering illumination․ Consider slightly overexposing to brighten skin tones, but avoid blown highlights․ Finally, adjust settings incrementally and review your shots to refine your technique for polished, professional-looking portraits․
6․2 Optimizing Settings for Landscapes
For landscape photography, use a narrow aperture (f/8-f/11) to ensure depth of field, keeping the entire scene sharp from foreground to background․ A slower shutter speed (1/30s-1s) can creatively blur water or clouds, adding motion to your image․ Set ISO to the lowest possible (100-400) to minimize noise․ Use a tripod for stability, especially in low light․ Focus on the hyperfocal point for maximum sharpness․ Opt for manual metering or spot metering to balance high-contrast scenes․ Shoot during the golden hour for warm, dynamic lighting․ Consider using neutral density (ND) filters to manage bright skies or achieve smoother water effects․ These practices help capture detailed, well-exposed landscapes with rich textures and vibrant colors․
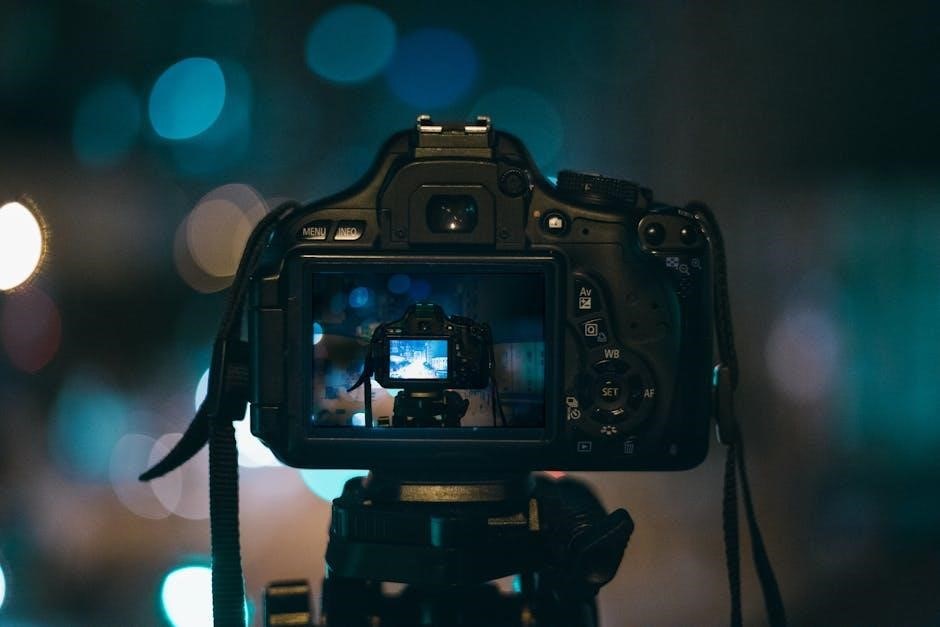
6․3 Managing Low-Light Conditions
Mastering low-light photography in manual mode requires balancing ISO, aperture, and shutter speed․ Start with a wide aperture (f/2․8 or lower) to let more light in, but be mindful of depth of field․ Raise the ISO carefully, as high values can introduce noise; aim for 1600-6400 if necessary․ Use slower shutter speeds (1/30s-1/60s) to capture more light, but stabilize the camera with a tripod to avoid blur․ Manual focus can help in dim conditions, and bracketing shots ensures optimal exposure․ Noise reduction tools in post-processing can mitigate grain․ Experiment with these settings to achieve sharp, well-lit images in challenging lighting scenarios, ensuring your photos retain clarity and detail even in the darkest environments․
Common Mistakes in Manual Mode
Common mistakes in manual mode include ignoring ISO settings, using incorrect aperture for depth of field, and improper shutter speed for motion, leading to suboptimal results․
7․1 Overlooking ISO Settings
One of the most common mistakes in manual mode is neglecting ISO settings, which can significantly impact image quality․ ISO determines the camera’s sensitivity to light, with lower values (e․g․, ISO 100) suited for bright conditions and higher values (e․g․, ISO 6400) for low light․ Overlooking ISO can result in underexposed or overexposed images․ Many photographers forget to adjust ISO when lighting conditions change, leading to unwanted noise or loss of detail․ To avoid this, always check and adjust ISO based on the scene․ A higher ISO may be necessary indoors or at night, while a lower ISO is ideal outdoors․ Balancing ISO with aperture and shutter speed ensures optimal exposure and minimizes noise, enhancing overall image quality․
7․2 Incorrect Aperture for Depth of Field
Using the wrong aperture is a common mistake that affects depth of field․ A wide aperture (e․g․, f/2․8) creates a shallow focus, blurring backgrounds, while a narrow aperture (e․g․, f/11) keeps more of the image sharp․ Incorrectly choosing aperture can result in portraits with too much background detail or landscapes where elements are out of focus․ To avoid this, consider the scene’s requirements․ For portraits, a wide aperture isolates subjects, while landscapes often need a narrower aperture for sharpness throughout․ Adjusting aperture thoughtfully ensures desired depth of field, enhancing image composition and focus where needed․ Experimenting with aperture settings helps master this critical aspect of manual photography, improving overall image quality and artistic intent․
7․3 Ignoring Shutter Speed for Motion
Ignoring shutter speed can lead to unintended results, particularly in capturing motion․ A slow shutter speed can create blur, which may be desirable for artistic effects but can also ruin sharpness in moving subjects․ Conversely, a shutter speed that’s too fast may freeze motion unnaturally or underexpose the image in low light․ Photographers often overlook how shutter speed interacts with the scene’s dynamics, resulting in missed opportunities to convey motion creatively․ To avoid this, adjust shutter speed based on the subject’s movement and lighting conditions․ For sharp images of moving subjects, aim for a minimum of 1/500s, while slower speeds can intentionally blur motion for artistic effects․ Balancing shutter speed with the exposure triangle ensures precise control over motion and light, enhancing the overall impact of the image․
Mastering manual camera settings unlocks creative control, enabling photographers to craft images with precision․ Understanding the exposure triangle is key to achieving desired results and artistic expression․
8․1 Final Thoughts on Manual Camera Settings
Manual camera settings empower photographers to take full creative control, ensuring each image reflects their unique vision․ By mastering ISO, aperture, and shutter speed, photographers can balance light, depth, and motion with precision․ This mode bridges the gap between technical skills and artistic expression, allowing for tailored results in any situation․ Consistent practice and experimentation are key to refining your craft․ Embrace the learning process, as manual mode unlocks limitless possibilities for capturing stunning, professional-grade photographs․ Remember, the exposure triangle is your toolkit—use it wisely to create images that tell your story․ With patience and dedication, manual settings will become second nature, elevating your photography to new heights․
8․2 Encouragement to Practice and Experiment
Mastering manual camera settings requires consistent practice and a willingness to experiment․ Start by familiarizing yourself with the exposure triangle—ISO, aperture, and shutter speed—and how they interact․ Begin with simple exercises, such as capturing the same subject under different lighting conditions, to see how each setting affects the outcome․ Don’t be afraid to make mistakes; they are valuable learning opportunities․ Experiment with creative techniques, like intentional blur or shallow depth of field, to expand your artistic vision․ Remember, photography is a skill that improves with time and effort․ Keep exploring, and soon manual mode will become your go-to for capturing stunning, professional-quality images․